Playing in and maintaining your recorder
A new wooden recorder has to be played in. Give your instrument time to get accustomed to the moisture and warmth that comes through playing. You can use this time to explore and become familiar with the unique characteristics of your recorder.
Play it daily in the first three to four weeks – but not for periods longer than 20 minutes. Look for slow passages to play. Explore and savour every individual note: what makes each note sound best? Experiment with various dynamic levels. Find the limits of your instrument, but don’t tax it too much in the high registers.
Older wooden recorders that have gone without being played for a while must be played in again.
Wooden recorders with plastic head joints are ready to be played immediately and don’t need to be played in.
Wood is a living, breathing material: for this reason the recorder maker crafts the windway to be a bit wider than necessary when new. Thus, while it is being played in, the block may swell slightly. However, the block sometimes swells more than expected, which may cause problems with the response or result in a “hoarse” sound. If this is the case with your instrument, we can easily solve the problem with a simple correction in our Recorder Clinic.
Warm up your instrument before playing it, especially during the colder seasons of the year. You might try warming it up under your arm or by placing it in your pocket. In this way, you will avoid a build-up of condensation and possible problems with “hoarseness” or a slow response when playing.
Dry each part of the recorder carefully after playing. Use a cleaning rod with a cotton (lint-free) cleaning cloth. Do not forget to blow out the condensation that has collected inside the instrument. Hold the palm of your hand against the open end of the head joint, place your mouth over the labium and blow strongly – the moisture will escape at the top of the windway. Be careful: many players place their fingers on the labium while blowing through the windway. The labium edge is very easily damaged, so ensure your fingernails never come into contact with the labium!
After playing, keep your recorder out of its case to let it dry.
Do not keep it assembled during this time, as this could result in warping or even the formation of cracks at the tenons.
Mould tends to grow in recorders that have not been given sufficient time to dry!
Protect your recorder from extreme changes of temperature as this leads to cracking from the stresses placed on the wood.
Avoid storing your recorder in hot places such as in cars or on windowsills, which could cause the paraffin wax used for impregnation to melt.
Clean the surface of your recorder with a damp cloth. Using a drop of washing up liquid will allow you to remove unsightly marks even more easily, especially around the beak. The windway can be carefully cleaned with the help of a bird feather. Plastic recorders should only be cleaned with lukewarm water.
The tenons of your wooden recorder need maintenance to keep them responsive and easy to move. You can use the joint grease that comes with every instrument for this purpose.Be sure to apply it sparingly, removing excess grease to avoid it getting into the edges of the finger holes. If the joints are stiff and difficult to twist, try rotating them in one direction only. That will make it easier!
Recorders with keys require special attention: when assembling or dismantling your recorder, always grasp the body either above or below the keys to avoid bending the key mechanisms. If g your recorder a key no longer works lightly and soundlessly any more, it might just need a drop of oil applied between the hinges. Do not use recorder oil, which is only meant for wood maintenance! For a readjustment, we are recommending Hetman's Wind Instrument Oil Nr.6 Heavy Slide Oil. This is a viscous synthetic maintenance product which improves the mobility of key action and also reduces key noise.
Anticondens (ord. no. 6138) is effective in preventing “hoarseness” caused by condensation which blocks the windway. A combination of organic washing up liquid and water, it releases the surface tension of the little water droplets within the windway, leading to a flat film of moisture. Dribble just a few drops of Anticondens into the windway from the side of the labium and let it run down over the block surface to the windway entrance. Then blow the Anticondens out of the recorder as described above.
Our maintenance kit (order no. 6132) has everything you need for the care of your wooden recorder, including extensive instructions.
Oiling
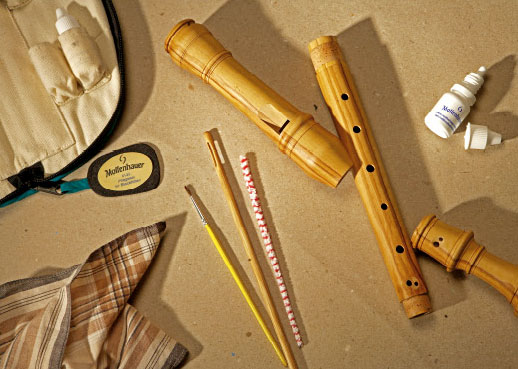 All wooden recorders need to be oiled from time to time in order to protect them from the moisture generated during playing. Oiling maintains beauty of sound and response.
Without oil the wood would lose its lustre and the surfaces of the bore would become rough. It may even develop cracks or suffer alterations in dimensions as a result of expansion when playing and subsequent shrinkage when drying out.
The frequency of oiling depends on the kind of wood and the demands placed on the instrument as the moisture generated during playing means that the maker’s initial treatment of the surface will need renewing.
Generally speaking recorders require oiling 2–3 times a year. Observe your instrument: if the wood inside the bore looks dry and grey it requires oiling. If it has a slightly oily sheen then oiling is not necessary.
Linseed oil is the traditional oil for woodwind instruments. It dries to provide a smooth fine coating that is particularly good at protecting your recorder against moisture and will not wear off as easily as the thinner almond oil.
Caution: rags covered in linseed oil can self-ignite! Lay any rags used for oiling out on a flat surface to dry. Once dry the rags can be disposed of in the household rubbish.
Neither block nor windway should at any time come into contact with the oil! This is a very important “rule” and must be adhered to. The function of the oil is to protect the wood against moisture through its waterrepellant properties. This, however, is undesirable in the vicinity of the block and windway as the block is supposed to absorb condensation. Contact with oil would lead to the formation of droplets of moisture in the windway and lead to blocking or clogging. For this reason it is important to hold the head joint upright when oiling so that no oil from the bore will flow to the bore-end of the block.
Blocks made of Synpor must not come into contact with oil at any time.
The Mollenhauer maintenance set (order no. 6132) contains the following items required for oiling your recorder: recorder oil, cleaning rod, small brush, pipe cleaner. In addition you will also require: a small piece of cotton cloth (absorbent but lintfree!) and a surface for leaving oiled recorder parts to dry.
Ölen in vier Schritten
Oiling in four steps
1st step: Preparation
The instrument must be completely dry so that the oil can soak thoroughly into the pores of the wood without trapping any remaining moisture. This means that the recorder should not be played for at least 12 hours before oiling.
Any keys should be protected so that neither the pads nor the moving parts come into contact with the oil. Plant oil hardens as it dries and would hinder the mechanism of the key.
Therefore, insert a folded piece of clingfilm between finger hole and key pad so that no oil from the bore can come into contact with the keys. Always hold the recorder with the keys facing upwards.
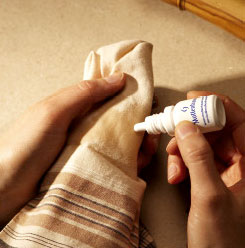
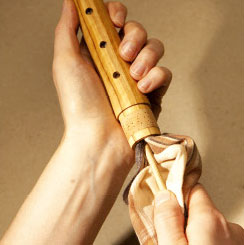
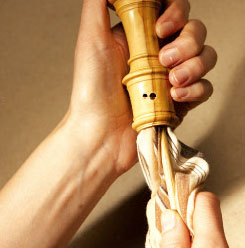
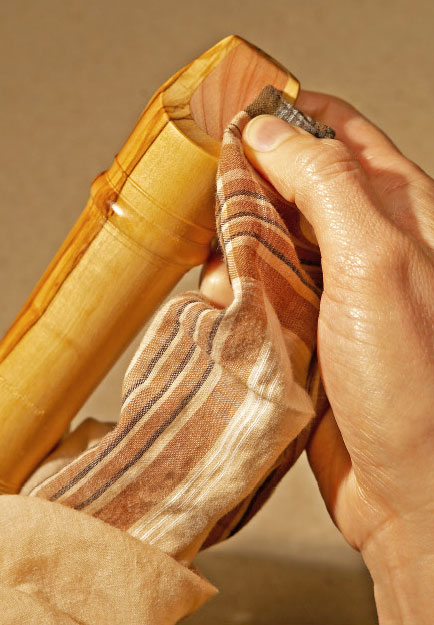
2nd step: oiling the parts The middle and foot joints should be thoroughly oiled using a cleaning rod wrapped with a small (lintfree!) piece of cotton rag or kitchen roll covered in oil, then placed on a surface to dry.
Parts with keys should be placed with the keys facing up.
The head joint requires particular care: hold the head joint with the beak pointing up so that no oil can flow towards the block.
Insert the cleaning rod with the oily rag from below and carefully push it upwards while turning gently, stopping just before the block. Look through the “window” to make sure that no oil comes into contact with the bore-end of the block.
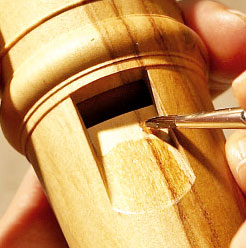
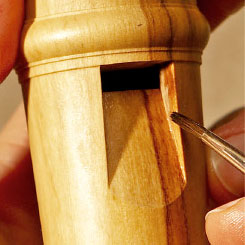
Use the little brush to oil the labium, ensuring that it does not come into contact with the block. On larger instruments the sides of the window may be oiled as well but on the smaller ones (sopranino and soprano) this should be avoided so that no oil can get near the windway.
The back of the beak can be refreshed with a tiny drop of oil after cleaning off any dirt.
Unvarnished recorders should also be wiped with a slightly oily cloth on the outside; this will refresh the grain of the wood and hide any little scratches and other marks.
Varnished recorders must be thoroughly dried: no oil should remain on the varnished surfaces as this could lead to unsightly stains!
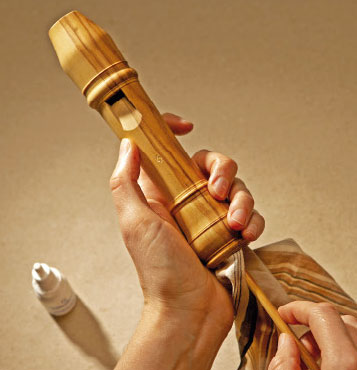
3rd step: leave the oil to soak in
Leave the instrument to rest for at least 10 hours. The head joint should be left standing upright so that no oil can flow onto the block.
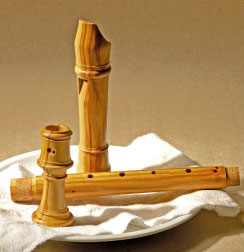
4th step: wipe off any remaining oil
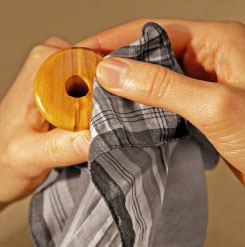
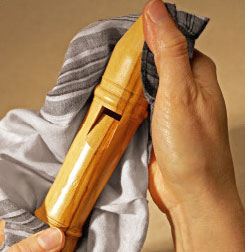
Wipe off any remaining oil by thoroughly drying all the parts with a clean cloth.This step must not be missed out under any circumstances because any superfluous oil will harden to a rancid sticky layer that can be very difficult to remove.
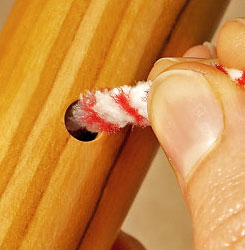
Dry all the finger holes with a pipe cleaner as any remaining oil will have a detrimental effect on the tuning of your instrument.
Anticondens
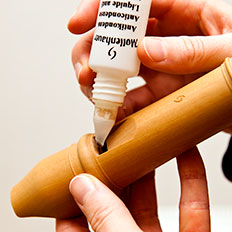
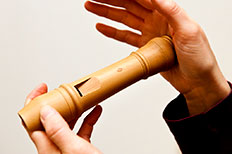

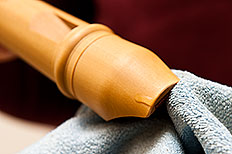
Anticondens (ord. no. 6138) is effective in preventing “hoarseness” caused by condensation which blocks the windway. A combination of organic washing up liquid and water, it releases the surface tension of the little water droplets within the windway, leading to a flat film of moisture. Dribble just a few drops of Anticondens into the windway from the side of the labium and let it run down over the block surface to the windway entrance. Then blow the Anticondens out of the recorder as described above.
Wood types
A wealth of sound from fine woods
The main factor influencing the sound of a recorder is the design of the instrument. However, the type of wood used also influences the sound. Which wood is “best” really depends on an individual’s idea of sound as well as on the purpose for which the instrument will be used.
For solo repertoire woods that produce a robust, elegant sound that is rich in overtones are more suitable as they can easily be heard when played in combination with other instruments.
For consort playing the blending of the individual parts is more important: here instruments with a soft, full sound that are well matched are called for.
For those who prefer a recorder that is light in the hand olive or plumwood is recommended. Other players prefer the heavier feel of dense woods such as grenadilla or palisander (rosewood). There is a choice of European and exotic woods – all carefully selected, stored and seasoned.
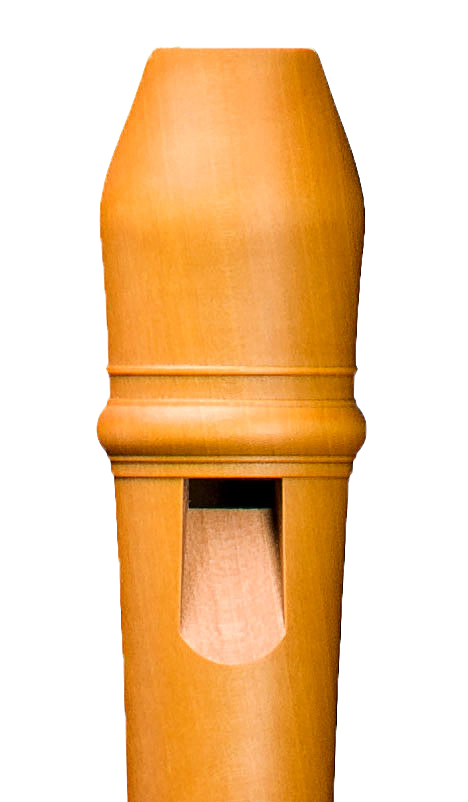
Pearwood
warm with a strong fundamental
specific weight 0.65
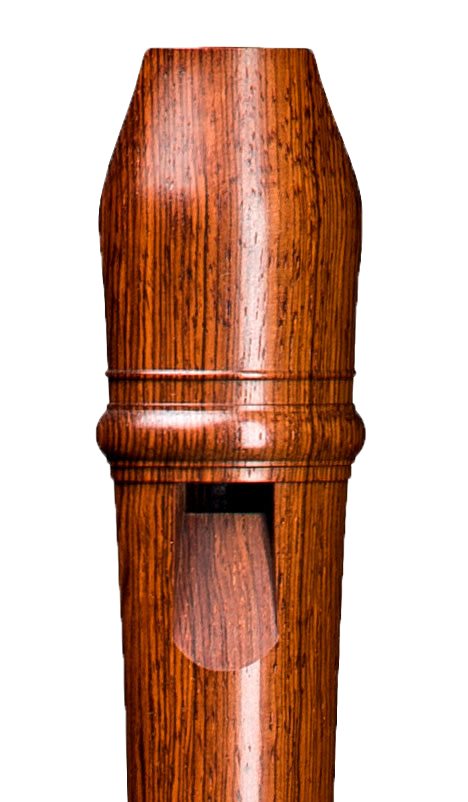
Rosewood
robust, well-balanced and forceful
specifi c weight 1.05
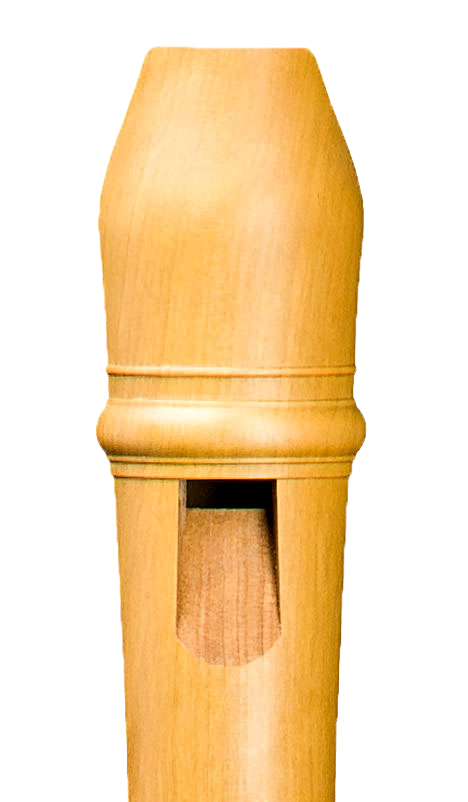
Castello boxwood
warm and bright
specifi c weight 0.8
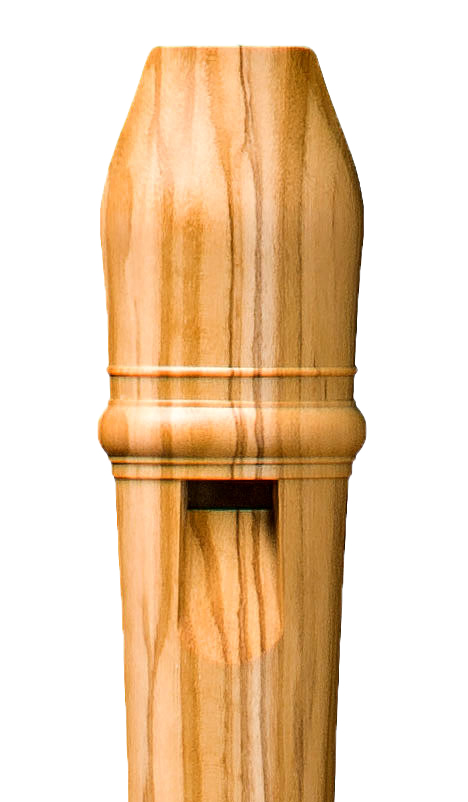
Olive
full, open tone
specific weight 0.85
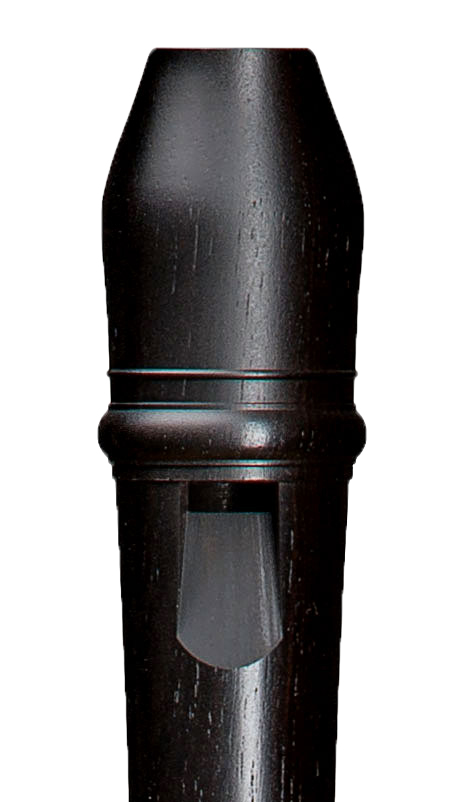
Grenadilla
intense and elegant
specific weight 1.2
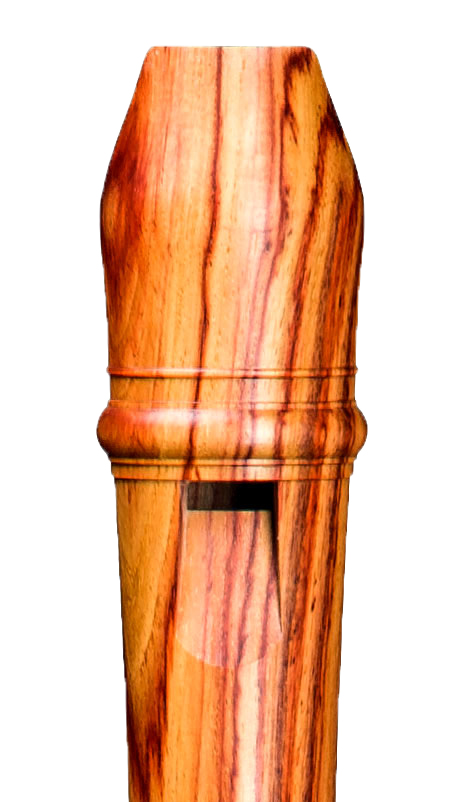
Tulipwood
full tone with a strong fundamental
specific weight 0.95
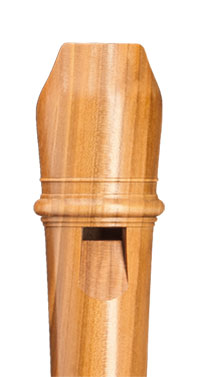
Cherrywood
light weight, clear sound
specific weight 0.61
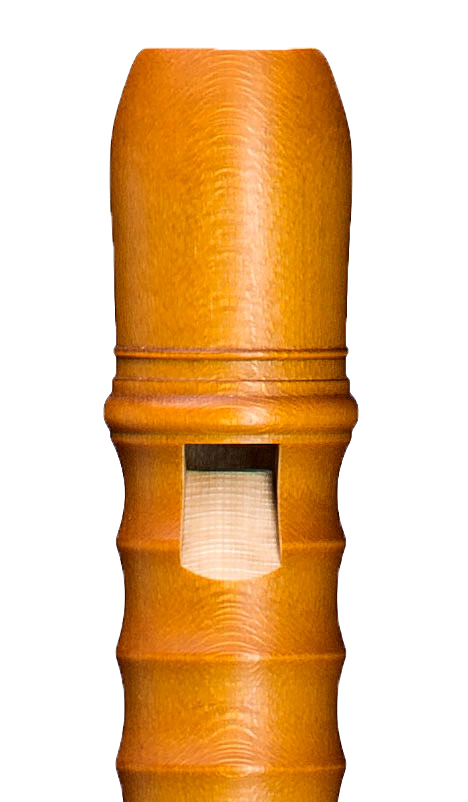
Maple
soft and light
specifi c weight 0.63
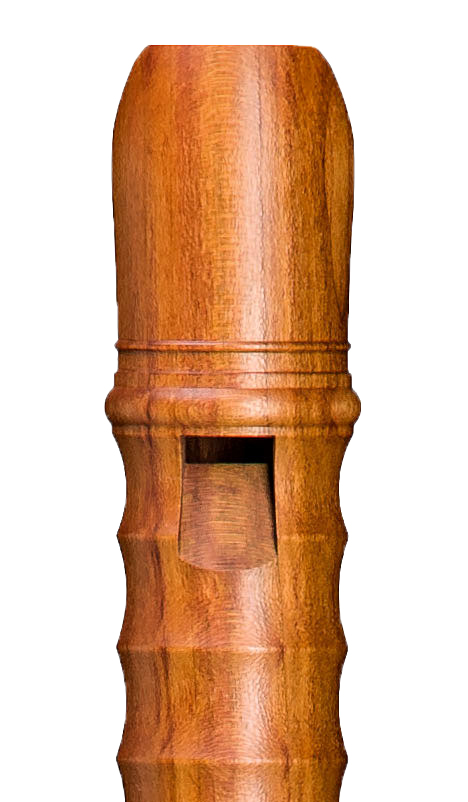
Plumwood
earthy, smooth structure
specific weight 0.79
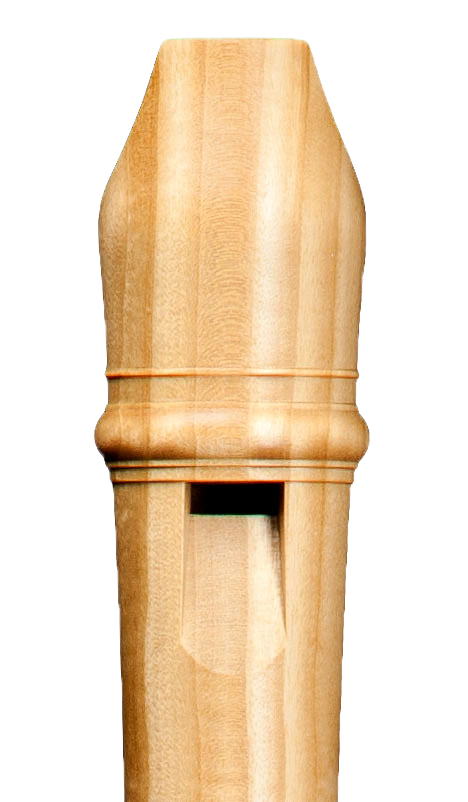
Satinwood
earthy, smooth structure
specific weight 0.79
Recorder designs
Historic and modern designs
Nowadays recorder players can choose instruments from a wide range of models that reflect the skills of recorder making of the most divers historic periods.
Recorders of the Renaissance and the Early Baroque (1) are recognised by their wide cylindrical bore and comparatively large finger holes. Their exterior is usually plain with only very limited decoration as can be found in those made by Hieronymus F. Kynseker
(1636–1686, Nuremberg). Their characteristic is the full strong sound, particularly in the lower register, that blends well in consort playing: the emphasis at the time was on consort playing rather than on solo repertoire.
Baroque recorders (2) are characterised by a more complex and irregular bore and smaller fingerholes. The exterior of these threepart recorders is decorated with ornamentally turned joints, such as those by Jacob Denner (1681–1735). Their elaborate design and detail make them highly suitable for the virtuosic music of the Baroque era: quick and clear response and flexibility over a range of more
than two octaves combined with expressiveness and an even sound throughout all registers.
Harmonic recorders (3) surpass their historic predecessors in their innovative design. Their slightly conical bore combined with the lengthening of the instrument by the addition of keys open up entirely new sound possibilies and extend their range well into the third octave. Our Modern Alto and the Helder recorders were the first models to put this design into practice.
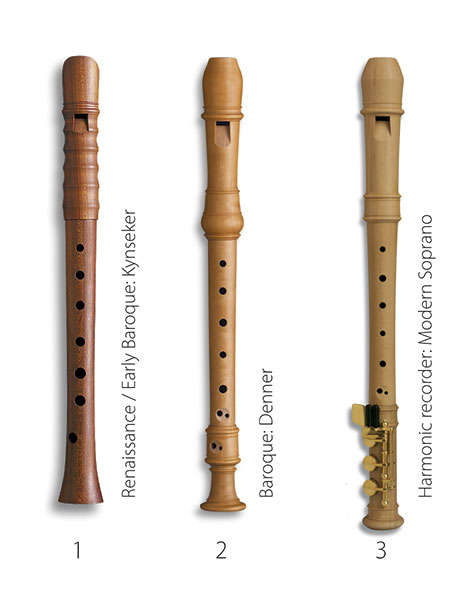
- Renaissance / Early Baroque: Kynseker
- Baroque: Denner
- Harmonic recorder: Modern Soprano
Baroque & German Fingering
Most school recorders are still offered with German and Baroque fingering so that a choice must be made at the time of purchase.
The most important difference is the fingering for the note F (soprano) that at first is easier to finger in the German fingering system (in comparison to the forked fingering of the Baroque system, see below). However, this apparent ease of fingering seriously compromises the tuning of the instrument in other keys than the home key. Even F-sharp requires more complex fingerings in order to sound reasonably in tune.
For this reason modern recorder tutor books are geared towards Baroque fingering which – when taught properly – is no more difficult for pupils to learn.
A common error:
often the double finger holes C/C-sharp and D/D-sharp (soprano) are regarded as evidence of Baroque fingering. However, the double holes are possible in both fingering systems.
The Baroque fingering can easily be recognised by the larger 5th finger hole in comparison to a German fingered instrument.
About us
Mollenhauer-Team
Here you can find our team.


